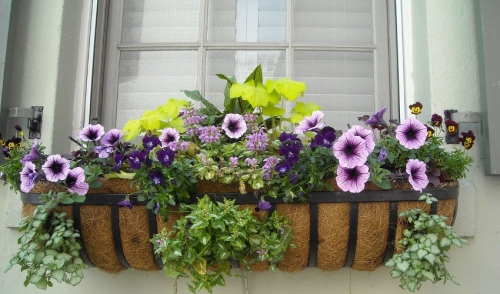
Window Boxes Can Dress up Your House
When it comes to curb appeal, window boxes provide a lot of bang for the buck. With basic tools, materials and just a few hours of effort, you can make a huge positive impact on the look of your home’s exterior.
Though making one is relatively easy, they can also be purchased. Some window boxes are just simple boxes made of wood, while others are more ornate. Similar in function to window boxes, some homes adorn planting racks and shelving below their windows, where flowerpots can be mixed and matched as the seasons or decorative tastes change.
Either way, your home can benefit in many ways. You’ll be breathing new life into an otherwise plain, flat surface. Also, you’ll be adding a lot of color and texture to the look of your house. As the months roll forward, you can reflect this with the appropriate seasonal colors in your window box. Even in winter, you’ll be able to dress up your windows with evergreens and other colors of the season.
Below, we’ll discuss how to assemble a simple, wooden window box:
Choose a window you’d like to begin with and measure the inner width of the window frame. Preferably using a rot resistant wood such as cedar or redwood, cut a 1 x 10 or 1 x 8 board to this length. Next, measure and cut to more similar boards, adding 1 ½ inches to each. They will be your bottom and front pieces. For your two sides, cut two sections of wood so that their length equals the width of your other boards (a square). Sand all pieces smooth. Next, drill two holes at the bottom of the front board, 3/8 inch from each side. Now drill a hole about every 4 inches between them. This will be for screws that will attach your front board to the bottom. Once the holes are drilled, hold the front and bottom piece together and mark the holes onto the edge of the bottom board. Drill pilot holes into your bottom board, apply wood glue along the edge where the pilot holes are located, and fastened the front and bottom boards together with corrosion resistant screws (such as brass or stainless steel). Repeat the same procedure with the sides and back. Finally, drill a row of ½ inch holes through the bottom of the completed box (almost every 4 inches) to allow for drainage. Next, fasten your new window box in place using either deck screws (into a stud under the window-sill) through the back of your window box. Alternatively, you can use window box brackets.
When choosing a window for your window box, be aware of what will be below it, since the box will drip after watering. Additionally, using a window box liner can help prolong the life of your new creation.
Stop in today and we’ll provide the tools and know-how to get you started. If you find yourself running out of windows to decorate, we can help you with that too!
